
Surprising fact: I learned that one small setting can switch most of my chats from green bubbles to blue, changing how my messages use data and features across devices.
I want this to be quick and practical. I’ll show the exact path in the Settings app and the three steps I use to get full iMessage function, including choosing Send & Receive options.
I explain what makes iMessage different: it uses Wi‑Fi or cellular data and adds richer messaging features. SMS/MMS/RCS use cellular only and appear green, and RCS may not be available with every carrier or region.
I’ll also cover syncing with Messages in iCloud and Text Message Forwarding so my conversations stay consistent across my devices. If something stalls, I offer a short troubleshooting checklist that most users can follow.
Key Takeaways
- I’ll guide you through three simple steps in the Messages settings.
- Blue bubbles mean iMessage; green means carrier SMS/MMS/RCS.
- iMessage uses Wi‑Fi or cellular data and offers richer features.
- Messages in iCloud can sync conversations across Apple devices.
- Carrier and region can affect RCS, forwarding, and some features.
Before you start: what iMessage needs to work right now
I always confirm my device is online and signed into the right Apple account first. A steady internet connection and a correct account make activation painless.
Check your internet connection
I verify Wi‑Fi or cellular data is active before changing any settings. A solid network prevents activation from stalling and speeds up verification.
I also make sure airplane mode is off and that cellular data is allowed when Wi‑Fi isn’t available.
Make sure you’re signed in with the correct Apple ID
I open Settings and confirm my account matches the one on my other devices. Using the same Apple ID helps messages sync across devices and with Messages in iCloud.
- Confirm internet connection: check Control Center or Settings for signal and data type.
- Stay on one network: avoid switching networks while activation runs.
- Watch regional limits: carrier and region can affect forwarding and advanced features.
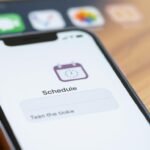
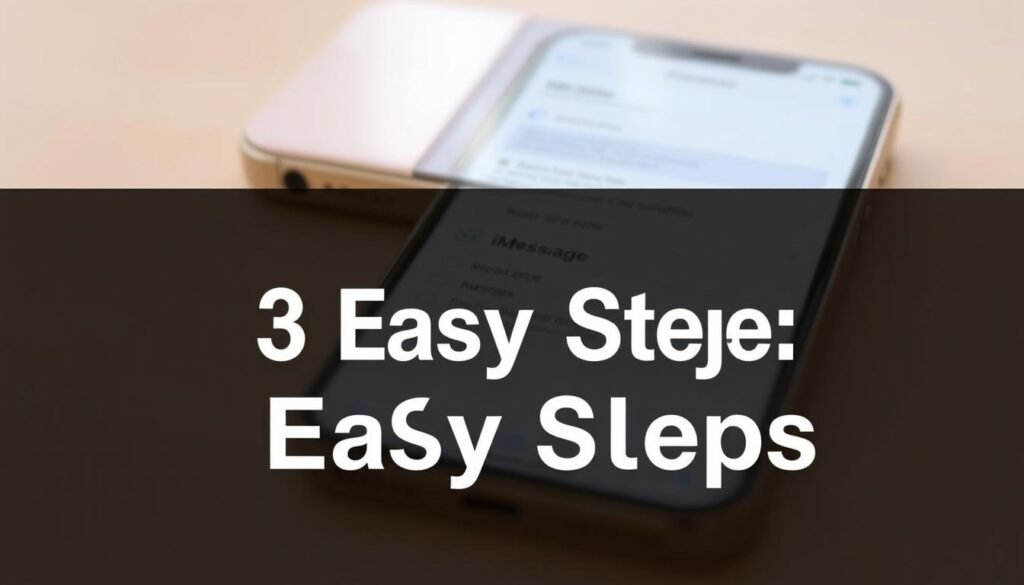
How to enable iMessage on iPhone in 3 easy steps

I walk through three quick steps that get iMessage working from the Messages settings. These steps follow the exact path I use: Settings > Apps > Messages > toggle iMessage. Keep a steady connection while activation runs.
Open the Settings app and tap Messages
I open the settings app on my device and tap Messages. This brings up the iMessage toggle and Send & Receive options in one place.
Turn on iMessage and wait for activation
I turn iMessage on and give it time. Activation can take up to 24 hours for phone number and Apple ID validation, though it usually finishes sooner.
Tap Send & Receive to choose where you can send and receive
I tap Send & Receive and pick my phone number and email addresses under “You can receive iMessages to and reply from.”
“Pick the address that starts new conversations so others see the right identifier.”
I sign in with my Apple ID if prompted and make sure my main number is checked. Then I send a test iMessage from the messages app to confirm a blue bubble appears.
- Open Settings > Messages.
- Turn iMessage on and wait for activation.
- Set Send & Receive addresses and send a test message.
iMessage vs SMS/MMS/RCS: what those blue and green bubbles mean
I watch bubble color because it tells me what network and features my messages are using.
Key differences, data requirements, and capabilities
I look for blue bubbles when I want high-quality media and features like typing indicators. Blue chats use Wi‑Fi or cellular data, which gives richer reactions, read receipts, and larger attachments.
Green bubbles mean the chat is using SMS, MMS, or RCS through carrier service. These text messages travel over cellular and may compress media or skip advanced features.
- I test a known contact to confirm blue bubbles and then text someone on a non‑Apple device to see green bubbles.
- I remember that RCS support varies by carrier and region, so green bubbles can behave differently for different users.
- I expect my device to fall back to sms or sms mms when internet access is limited or a contact isn’t registered for blue chats.
Blue bubbles for iMessage, green for SMS/MMS/RCS
“Try a quick test: send from a confirmed iMessage contact, then again to a non‑Apple number.”
| Feature | Blue (internet) | Green (carrier) | Notes |
|---|---|---|---|
| Delivery method | Wi‑Fi / Cellular data | Cellular only | Blue needs data; green uses carrier network |
| Media quality | High quality | Often compressed | Green may reduce file size |
| Advanced features | Read receipts, typing, effects | Basic text and MMS | RCS may add features but varies by carrier |
For activation quirks or delivery questions, I refer to the official Messages activation guide for stepwise checks.
Set up Send & Receive: pick your phone number and email address

I set the Send & Receive panel so my contacts reach me at the right number or address. This is where I choose the identities that handle my messages and start new conversations.
Enable your phone number and confirm addresses
I open Send & Receive and check that my phone number is selected. That ensures friends can reach me reliably on my main line.
I add any email address I want people to use. Choosing relevant addresses helps when contacts know me by work or personal info.
Choose your start identity and sync across devices
I pick the identity under “Start New Conversations From” so new chats show the number or address I prefer. Other devices show the same number once I use the same Apple account on each device.
“Pick one primary identity so replies land where you actually read them.”
- I deselect unused addresses to cut down confusion.
- I test replies from another device to confirm messages route correctly.
| Setting | Action | Result |
|---|---|---|
| Phone number | Check the box in Send & Receive | Contacts reach your main number |
| Email address | Add or remove listed addresses | Messages arrive at chosen email |
| Start New Conversations From | Select preferred identity | New chats show your chosen number or address |
Keep messages in sync across your Apple devices
I keep my conversations aligned across devices by turning on cloud syncing and checking each device signed into my account. This makes threads, attachments, and read receipts match whether I’m on my Mac, iPad, or phone.
Turn on Messages in iCloud
I open Settings > [your name] > iCloud > Messages and switch it on. Messages in iCloud saves and syncs iMessage and SMS/MMS/RCS across my devices that use the same Apple ID.
When this is active, deleting a conversation on one device removes it everywhere. I watch my iCloud storage because long threads with media can use space.
Use Text Message Forwarding for carrier texts
I enable Text Message Forwarding from Settings > Apps > Messages > Text Message Forwarding so my Mac and iPad can send and receive carrier text messages when my phone is nearby and connected.
Availability varies by carrier and region. If asked, I verify devices in the messages app and enter a six-digit code when two-factor authentication isn’t in use.
Requirements and best practices
- I sign every device into the same Apple account and keep software current for the best syncing service.
- I ensure a steady network connection on each device while the initial sync runs; large histories may upload at first.
- I check the forwarding list in Settings to confirm which devices can use the carrier text service.
“Syncing lets me move conversations from my phone to my Mac and reply on a full keyboard without losing context.”
For stepwise setup and additional details, I also follow Apple’s guide at Set up Messages.
Fix iMessage activation or sending issues
If activation stalls or messages won’t send, I follow a short checklist that usually restores normal service quickly.
Verify internet connection and signal strength
I start by confirming Wi‑Fi or cellular data is active and strong. A weak network often causes activation to fail or messages sent to hang.
If signal looks poor, I toggle Wi‑Fi or cellular data and test again.
Set Date & Time to “Set Automatically”
I open Settings and set Date & Time to Set Automatically. Wrong time or timezone can block verification and delay activation.
Restart, check software updates, and retry
I restart my device to clear temporary glitches. Then I check for the latest iOS software under Settings > General > Software Update.
Installing updates often fixes bugs that interfere with messaging.
Sign out and sign back in under Send & Receive
I go to Settings > Apps > Messages > Send & Receive. I sign out, then use my Apple ID to sign back in.
After re-enabling iMessage, I wait a short while because activation can take time.
“Wait a few minutes after re-signing in; activation may finish in the background.”
- Confirm strong Wi‑Fi or cellular data.
- Set Date & Time to Set Automatically.
- Restart and update software if available.
- Sign out under Send & Receive, then sign back in with your Apple ID.
- Test by sending a message to a known contact and watch for a blue bubble.
| Check | Action | Why it helps |
|---|---|---|
| Network & data | Toggle Wi‑Fi / cellular | Provides a clean path for activation and messages |
| Date & Time | Set Automatically | Avoids verification errors caused by wrong time |
| Software | Update iOS | Fixes bugs that can block activation |
| Account | Sign out / sign back in | Refreshes the Apple ID link for messaging |
Conclusion
, I wrap up by listing the quick settings steps that get messages working across my devices.
Quick recap: Open Messages in the settings app, turn iMessage on, then set your Send & Receive phone number and email so people reach the right address.
Make sure a steady internet connection and the same Apple ID are signed in on each device. Blue bubbles give richer features; green texts use carrier SMS and may limit media.
Turn on Messages in iCloud and use Text Message Forwarding if you want texts to appear across devices. If activation stalls, check network, set Date & Time automatically, restart, update software, and sign out then back in under Send & Receive.
I finish by sending a quick test to trusted contacts to confirm blue bubbles and that messages sent deliver as expected.