
, I bet you didn’t expect that casual users now save over 1 billion short clips from mobile displays each year. That scale shows why a clean capture tool matters when I need a fast demo or a trouble clip.
I’ll keep this short. First, enable Screen Recording in Settings so the icon appears in Control Center. Then open Control Center with a swipe—down from the top-right on Face ID models or up from the bottom on Home button models.
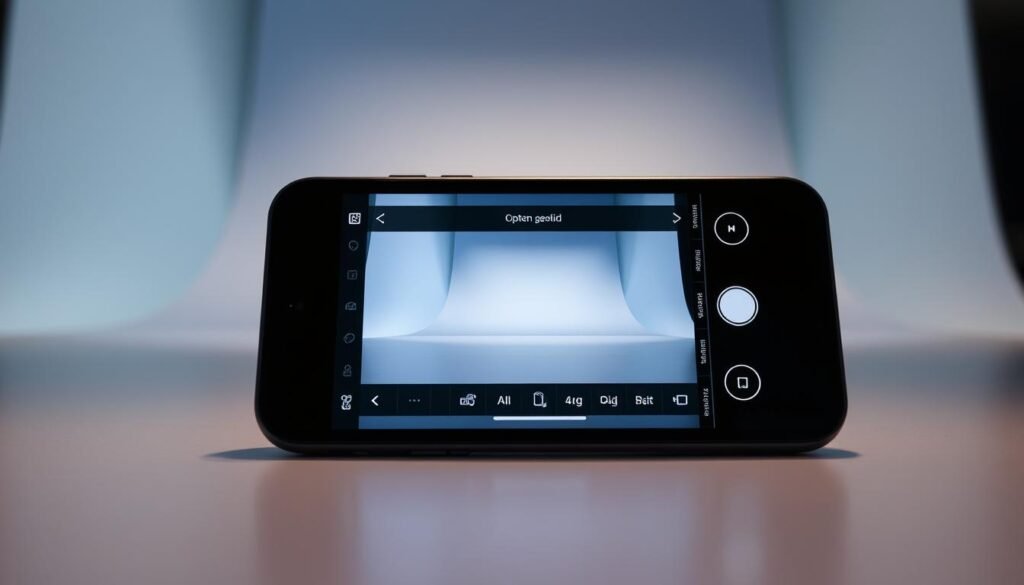
Tap the round record icon and you’ll see a three-second countdown. A red bar shows the session is live; tap it to stop. The clip saves automatically to Photos as a ready-to-edit video.
I point out the small cues that confirm a real capture and the exact paths from Settings to the on-screen controls. That way, if you want record a neat walkthrough, you won’t waste time hunting for the finished file.
Key Takeaways
- I show where in Settings you place Screen Recording so it appears in Control Center.
- Open Control Center with the correct swipe for your device and tap the record button.
- A 3-second countdown and a red status bar confirm a live capture.
- Finished clips save straight to Photos for quick trimming and sharing.
- I use only built-in tools, so no extra installs are needed.
What I’ll cover to get you recording fast
I’ll keep this short and practical. Below I map the simple steps you’ll use when you want a quick capture: enable the tool, start recording, stop cleanly, and find the clip for editing.
User intent at a glance: enable, start, stop, save
Enable: I show how to place the control in Control Center so the record button is always a swipe away.
Start recording: Open Control Center, tap the button, then use the three-second countdown to get your screen ready.
Stop recording: Tap the red status bar or the same button again to end the session and avoid extra footage.
Save and edit: The clip lands in Photos as a ready video. I point you where to preview and trim without extra apps.
- I’ll show the mic toggle when you long-press the button, so narration is only included when you want it.
- I’ll note DRM limits so you can make sure expectations match reality before pressing record.
- Mini-checklist: enable, start recording, perform steps, stop recording, and save—your first run should be smooth.
How to add screen record on iPhone in Control Center

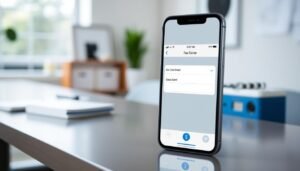
I start in Settings and open Control Center so the control sits where I can reach it fast. This setup saves time when I need a quick capture during a call or demo.
Open Settings and find Control Center
I go to Settings > Control Center and look under More Controls. This is where included controls and extras live.
Add the Screen Recording button with the green plus
I find the entry with the familiar circle icon and tap green plus. The screen recording button moves instantly into Included Controls.
Reorder controls so the recording button is easy to reach
I press and drag the recording button higher in Included Controls. Placing the button near the top makes a one-handed center tap quick and reliable.
If the button is missing, check Screen Time restrictions
If I can’t find the control, I open Settings > Screen Time > Content & Privacy Restrictions > Content Restrictions and allow recording. That removes any block so the circle icon appears.
| Step | Action | Check |
|---|---|---|
| Open Settings | Go to Control Center | Included Controls visible |
| Add control | Tap green plus next to Screen Recording | Circle icon moves to Included |
| Reorder | Drag recording button up | Accessible in Control Center |
| Troubleshoot | Check Screen Time restrictions | Recording allowed in Content Restrictions |
Start and stop a screen recording from Control Center

I keep this part short and practical. I open Control Center with the correct gesture for my model so I can start quickly.
Open Control Center: On Face ID models I swipe down from the top-right corner. On older Home button devices I swipe up from the bottom. That gets the controls into view fast.
Tap the recording button and watch the countdown
I tap the recording button and a brief three-second countdown gives me time to arrange the screen. The pause is useful for steady, clear captures.
Watch the red indicator at the top
While recording I see a red bar or a red indicator near the top. That visual makes it obvious the session is live.
Stop cleanly and find the clip
I stop by tapping the red bar or by opening Control Center again and tapping the recording button. The clip saves automatically to Photos, so I can review or trim it without extra steps.
- I use steady taps during capture so the final clip looks neat.
- A quick second take is easy: reopen Control Center and tap the recording button again.
Record audio: turn the microphone on or off
I long-press the control and a small menu appears with a microphone toggle. That quick menu is the fastest way to manage voice capture before I start recording.
Long-press the recording button, then tap the microphone icon. When the mic shows On, my narration records along with system audio. If it’s Off, the device captures internal audio only where allowed.
When to use internal audio versus mic narration
I use internal audio for gameplay or app sounds. If I want record a clear voiceover, I make sure the mic shows On and speak clearly.
Lower media volume first when I want mostly my voice. Some apps block streams via DRM, so even with the mic enabled, certain audio may not appear in the file.
“I check the circle icon and confirm the button state before I begin.”
- I long-press the screen recording button, then tap Microphone to toggle narration.
- I keep the phone steady and hold it slightly away to reduce pops.
- I run a quick practice pass, then record with the mic On for confident narration.
Gestures by iPhone model: where to open Control Center
Opening the control panel varies by model, and matching the gesture to my device keeps the process fast and reliable.
Swipe up from the bottom on Home button models
On Home button models (like iPhone 7, 8, SE 2nd/3rd gen) I swipe up from the bottom edge. This makes the control center appear within thumb reach.
Swipe down from the top-right corner on Face ID models
For Face ID models (iPhone X and later) I swipe down from the top-right corner screen so the recording control is visible immediately.
- I match the gesture to my model so I don’t miss the first tap.
- I keep my thumb near the corner and adjust the swipe angle if notifications pop instead of the control center.
- If a case blocks the motion, I refine the path closer to the edge until it opens reliably.
| Model Type | Gesture | Why it matters |
|---|---|---|
| Home button models | Swipe up from bottom | Easy one-handed reach; quick access to controls |
| Face ID models | Swipe down from top-right corner | Places controls near the top corner for fast use |
| All models | Open control center | Recording steps remain the same after the panel opens |
Find, edit, and share your screen recordings in Photos
Every finished clip saves straight into Photos, which makes reviewing fast and simple. I open Photos, look for the latest video, and play it once to confirm the capture is complete.
Locate your saved video in the Photos app
I tap Albums or Recents and scroll to the newest entry. The saved video usually appears at the top so I can find screen recording results quickly.
Trim the start or end and save your changes
I tap the clip, then tap Edit. The trim handles appear at the bottom of the timeline; I drag them inward until the unwanted moments are gone.
After a quick preview I tap Done and choose either Save Video or Save Video as New Clip. I keep both versions when I’m unsure, and overwrite when I need space.
- I check Albums and Recently Deleted if I can’t find screen recording files.
- I avoid excessive taps during capture so the final video needs minimal trimming.
- For more edits like titles or multi-clip joins, I export the video and edit in an app such as iMovie after a center tap on Share.
“I keep an eye on storage so the save completes and the bottom bar doesn’t stall.”
If you want a full walkthrough for setup, see this step-by-step guide.
Conclusion
A simple checklist keeps the basics within reach.
I rely on the same steps every time: place the control in Settings, open Control Center, tap the circle button to start the three-second countdown, and watch the red bar so I know the recording is live.
I also toggle the microphone when I want narration, then stop cleanly by tapping the red bar or the same button. If the control disappears, a visit to Screen Time and Control Center ordering usually fixes it.
Do a quick practice pass: record a few seconds, stop, and trim in Photos or use iMovie for polish. That habit makes longer captures effortless and reliable.