
Surprising fact: nearly one in five power issues trace back to tiny lint and dust trapped inside a connector. I learned this the hard way when my phone stopped taking a full charge overnight.
I walk you through a safe, practical process I use at home. First, I shine a bright light into the port and look for debris. A quick inspection often saves time and worry.
Next, I use short bursts from a dust blower aimed at a corner so particles eject cleanly. I never blow with my mouth because moisture can harm contacts. After each attempt, I test the cable to see if the connection sits snugly.
If dust stays, I move to gentle brushing and, only when needed, a tiny amount of >90% isopropyl alcohol. I let it evaporate fully before testing again. If repeated steps fail and no debris shows, the port may need professional service.
Key Takeaways
- Inspect first with a bright light; small debris often blocks the connection.
- Use a dust blower with short puffs; avoid breath to prevent moisture damage.
- Test the cable after each step to confirm progress.
- Reserve alcohol for last and let it dry completely before testing.
- If cleaning fails after careful tries, seek professional repair.
- For a full walkthrough and extra tips, check this helpful guide.
guide for cleaning a charging port
Why I Clean My iPhone Charging Port and What You’ll Achieve Today
I treat routine maintenance on the connector as a five‑minute habit that saves time and frustration.
Keeping the charging port clear preserves optimal charging and prevents intermittent or no power at all. Dust, lint, and other debris often block the connection and stress delicate components. I always power off my device first to avoid short circuits and give myself a clear view.
I begin with gentle brushing and brief bursts of compressed air. If something stubborn remains, I use a wooden or plastic toothpick with care. I avoid liquids unless absolutely necessary, and then I use only a tiny amount of >90% isopropyl alcohol and let it evaporate fully.
My goal is reliable phone charging today, without risking damage. I use safe tools and slow, steady motions so pins and contacts stay intact. This process is light maintenance I repeat periodically to keep the path clear and the device charging consistently.
| Outcome | Tools | Risk | Estimated Time |
|---|---|---|---|
| Stable phone charging | Soft brush, air, toothpick | Minor contact abrasion if rushed | 5–10 minutes |
| Loose debris removed | Compressed air, flashlight | Moisture from breath | 3–7 minutes |
| Stubborn lint cleared | Wood/plastic pick, minimal alcohol | Overuse of liquids causing damage | 5–15 minutes |
| Longer device life | Routine checks, dust plugs | Neglect leads to repair | Ongoing maintenance |
- Tip: Inspect between steps and don’t rush; short pauses help you avoid scraping sensitive areas.
- Result: A clean charging port usually restores reliable phone charging without a repair visit.
My Safe Tools and Set‑Up: Brushes, Compressed Air, Toothpicks, and What to Avoid
My routine starts with a bright light and a tidy spot so I can see every tiny problem.
Essential tools I use: a soft brush, a can of compressed air, a bright flashlight, and a thin cotton swab or a toothpick made of plastic or wood wrapped in cotton. I lay these tools out before I touch the device.
I use compressed air in short bursts aimed at one corner of the charging port so dust exits cleanly. I never blow with my mouth because moisture can damage contacts.
I insert a dry, soft brush and gently rotate to loosen clumped particles, then follow with brief puffs of air. For stubborn bits, I use a thin plastic or wooden toothpick wrapped with cotton for precision.
“Power off first and protect internal components—this keeps pins safe and lowers the risk of a short circuit.”
- I skip metal objects and harsh liquids; metal can bend pins and liquids can seep where they shouldn’t.
- I avoid stiff toothbrushes because abrasive bristles may scuff contacts.
- I keep pressure light and use a flashlight to confirm the port is clear before testing charging again.
how to clean iphone charging port the right way: Inspect, Loosen, and Clear Debris
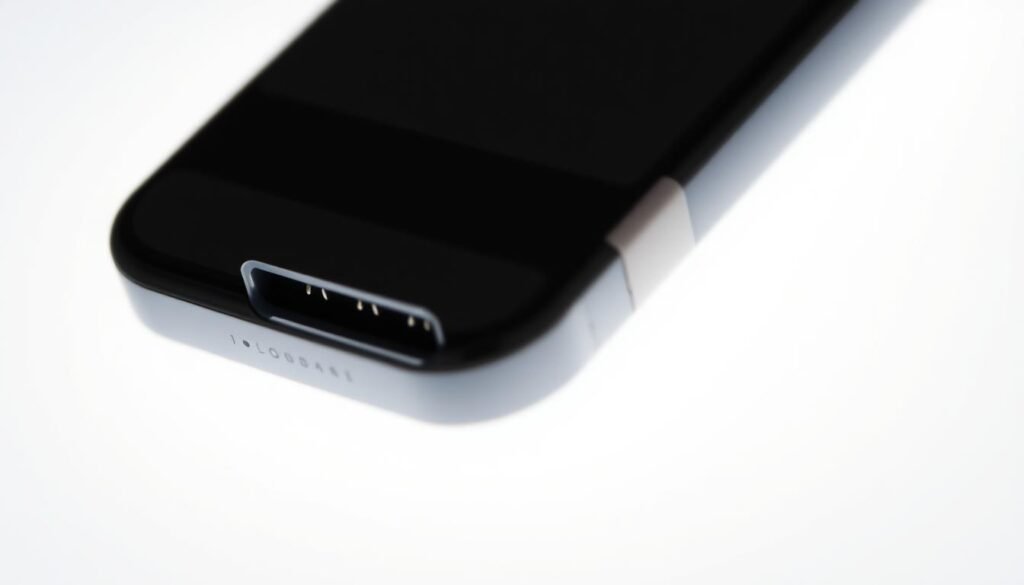
I power off my phone and shine a flashlight into the connector so I can spot lint and other debris before I pick a method.
Step one: I begin with the least invasive action. I use a dust blower aimed at a corner and give a few short, angled puffs of air. This lifts loose particles without pushing them deeper into the port.
If stubborn lint or packed debris remains, I use a dry, soft brush with tiny circular motions to loosen material. Then I blow again with the air tool. I never use my breath because moisture can linger and cause problems later.
I test after each pass
I plug in the cable and check the fit after every cycle. If the connector does not seat or charging fails, I repeat the process slowly. I keep motions light so pins and contacts stay safe, and I rely on the flashlight between rounds to confirm that lint and debris are gone before I finish.
Using Compressed Air Correctly to Clear Dust and Lint

I rely on short, aimed puffs from a dust blower to coax dust and fibers out. This step is low risk when done carefully and often fixes a finicky connection fast.
My basic approach: I hold the can upright and angle the nozzle toward one corner of the charging port so loosened dust has a clear exit path. I use short puffs of compressed air rather than a long blast to avoid forcing debris deeper or chilling components.
Testing and repeating
After a few puffs I plug in my cable and check whether the plug seats and the phone shows charging. If it still feels loose, I power off, try another round, then recheck.
Common mistakes to avoid
- I never tilt the can; that can spray propellant and cause damage.
- I avoid long continuous blasts and never use my mouth since moisture can corrode contacts.
- If debris stays after a couple of steps, I move on to a soft brush or other gentle tools instead of overdoing the air.
Tip:Treat compressed air as one step in the process. When done right, it often restores reliable charging without further work.
Brushing and Gentle Picking: Soft Bristles, Cotton-Wrapped Toothpick, and Minimal Isopropyl Alcohol
I use a soft brush and steady hands for the most delicate work inside the connector.
I insert a dry soft brush and rotate it in tiny circles. This breaks up compacted lint and grit without touching fragile pins or other components.
After loosening material, I follow with a short burst of compressed air to lift the loosened debris. I always check with a flashlight between passes so I don’t overwork any area.
Gentle picking for stubborn spots
For stuck particles I make a thin cotton swab or wrap cotton around a plastic or wooden toothpick. The cotton cushions the contact and lowers the risk of damage.
Using isopropyl alcohol sparingly
If grime is oily, I add a few drops of >90% isopropyl alcohol to the cotton tip. I slide it gently along surfaces, never forcing the tool near pins.
“I never force the tool; resistance means back off and try a different angle.”
- Finish: Let alcohol evaporate fully for a few minutes before any charging test.
- Final pass: One gentle air puff, then test the phone with a known-good cable.
Moisture and Sand Scenarios: What I Do If There’s Water or Grit in the Port

If water or grit gets into the connector, I act fast and follow a calm, methodical routine.
Moisture management: I power the phone off immediately and hold the device so the opening faces downward. Gravity helps pull droplets and loose particles out.
Then I pat the exterior dry with a lint-free cloth and use short bursts of compressed air to coax moisture from inside. I avoid hair dryers, rice, or heat—those can cause damage or leave residues.
Removing sand safely
For grit, I keep the phone pointed down and use controlled air bursts. Small, angled puffs push grains out without forcing them deeper.
I repeat this until I see no visible particles. If tiny grains persist, I use a soft plastic tool very gently and follow with another air pass.
Prevention tips I follow
- I carry a small plastic dust plug when I’m outdoors.
- I store the device in clean pockets or a dry case and do quick routine inspections.
- I keep basic tools nearby so I can clear small intrusions before they cause bigger problems.
“I wait long enough for the inside to air dry fully before powering up; rushing back on can harm the device.”
When Cleaning Isn’t Enough: Troubleshooting Charging and Next Steps
If the usual tools don’t fix things, I switch to a troubleshooting routine that rules out accessories first.
Start by isolating external causes. I test with a known-good cable and a trusted charger. I try different outlets and a second wall adapter. This quickly tells me whether the problem lives in the accessory or the device.
Double‑checking the cable, charger, and seating after cleaning
I confirm the plug seats fully and doesn’t wobble. A loose fit after cleaning often hints at wear or internal issues with the device.
- I test with a different charger and charging cable to rule out accessory faults.
- I inspect the connector with a flashlight; if the plug won’t sit straight, that is a red flag.
- I avoid metal tools; using them can cause lasting damage and complicate repair.
Signs I look for that suggest port damage and professional repair
If no debris is visible and phone charging still fails after repeated checks, I suspect damage to internal components or bent pins. I document each step—air, brush, cotton tips—so a technician knows what I’ve tried.
“Only consider a replacement after you’ve ruled out cables, chargers, and visible debris.”
Next step: If charging remains unreliable with known-good accessories, I seek expert help. For official guidance and service options, I check this support resource: Apple repair and service guidance.
Conclusion
My final note reminds you that small, regular checks make a big difference for device power.
Look with a flashlight, use a dust blower or soft brush to lift lint and dust, and test the cable after each step. I keep a cotton-wrapped toothpick, a plastic toothpick, and controlled air ready so I can act fast when buildup starts.
I use a tiny amount of >90% isopropyl alcohol on cotton only if needed, and I let it evaporate fully before plugging the device back in. I never blow with my mouth and I avoid metal tools.
If charging still fails with a known-good charger and cable, I seek professional help. Make this short routine a habit so clean charging stays consistent and your phone lasts longer.