Surprising fact: Over 80% of smartphone users capture at least one screen image each week, and many never learn the quickest method for their device.
I show you the exact method I use for any iPhone screen, whether you have Face ID or a Home button. In one swift step you press the right two buttons together with a quick press-and-release. This avoids accidental actions and gets the capture every time.
When the screen flashes and a thumbnail appears in the corner, you’ll hear a shutter or see a tiny preview. Tap that preview to edit, make a Full Page image in supported apps, or swipe it away to save. Your captures land in the Photos app under Albums > Screenshots.
If tapping buttons isn’t comfortable, I also use accessibility options: AssistiveTouch, Back Tap, or ask Siri. These give the same result without extra apps, and they work well for quick wins.
Key Takeaways
- I use a single, reliable button press method across models.
- The screen flashes and a thumbnail confirms the capture.
- Screenshots save in Photos under Albums > Screenshots.
- AssistiveTouch, Back Tap, and Siri offer easy alternatives.
- Tap the thumbnail to edit or choose Full Page for long captures.
Quick start: the fastest ways to take a screenshot on any iPhone
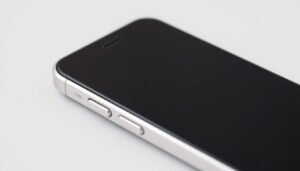
I keep this simple: a clean, simultaneous press of two hardware controls captures the screen instantly. For newer models, press and release the side button on the right side and the volume up button at the same time.
If your device has a home button, press the home button and the side or top button together. A single, quick press — not a hold — gives the best result every time.
You’ll notice a white flash, a soft shutter sound, and a small thumbnail in the lower corner of the screen. Tap that thumbnail to edit or share, or swipe it away to save the capture.
Timing matters: press both buttons cleanly so you avoid other actions. Screenshots are stored in the Photos app under Albums > Screenshots, so you can find them fast later.
“A quick press, a tiny thumbnail, and the image is ready for editing.”
- Newer models: side button + volume up.
- Older models: home button + side/top.
How to screenshot on iPhone
Get the screen ready: I set up the content I want, then press the correct pair of controls in one smooth motion. For Face ID models I press the side button and volume up together. For models with a home button I press that plus the side or top button.
Capture, edit, and save fast
When the screen flashes a tiny thumbnail appears in the corner. I either tap that preview to open Markup or I swipe it away to save immediately.
Markup tools let me crop, draw, or add notes in seconds. The editor also shows the share button so I can send the image straight to social media, Messages, or Mail without extra steps.
- I prepare the screen, press the two buttons at once, then choose whether to tap screenshot for quick edit or swipe to save.
- Images land in the Photos app under Albums > Screenshots, so I can find them later even if I dismiss the preview.
- A single, clean press of both buttons cuts errors, especially when I hold the phone with one hand.
“A quick press, tap the preview, and you’re ready to edit or share.”
Use accessibility-friendly methods when buttons are hard to reach
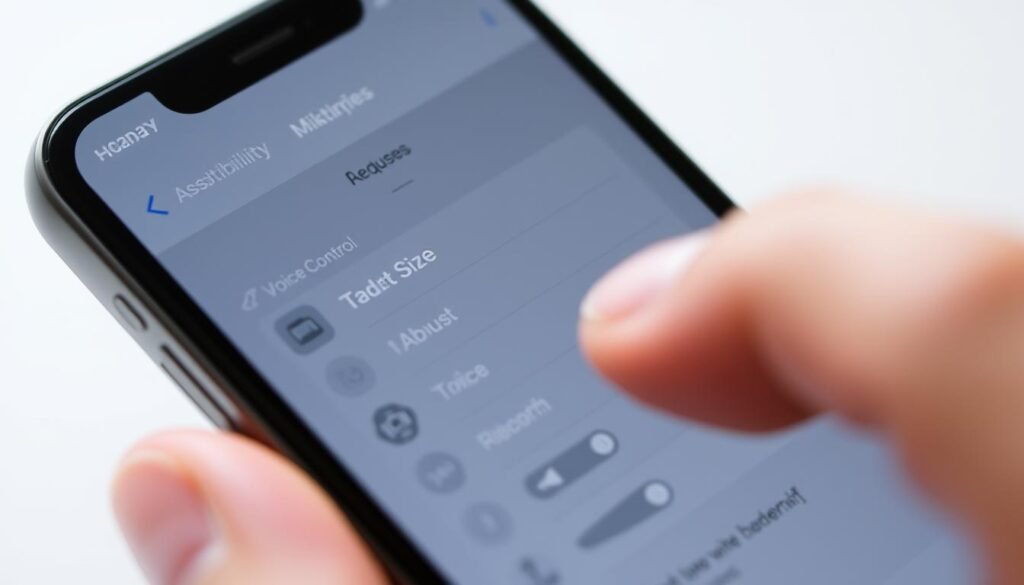
I rely on accessibility tools when a case, one-handed use, or limited reach makes pressing hardware controls tricky.
AssistiveTouch
Open Settings > Accessibility > Touch > AssistiveTouch. Enable it, then add Screenshot as a custom action or place it in the top-level menu.
This creates an on-screen control you can drag anywhere. It feels natural and works like a tiny app button for quick captures.
Back Tap
Go to Settings > Accessibility > Touch > Back Tap. Set Double Tap or Triple Tap to Screenshot.
Double or triple tap the back of the phone and the image saves without juggling a single button.
Ask Siri
Say “Take a screenshot” and Siri captures the screen hands-free. This voice method is great when your hands are busy.
- Quick setup: follow the exact paths in settings to enable each option.
- AssistiveTouch gives an on-screen control, Back Tap uses gestures, and Siri uses voice.
- These methods cut hardware wear and help if you use a case or have limited dexterity.
“Test your chosen method a couple of times so the action reliably saves to Photos.”
Edit, save, and share your screenshots like a pro
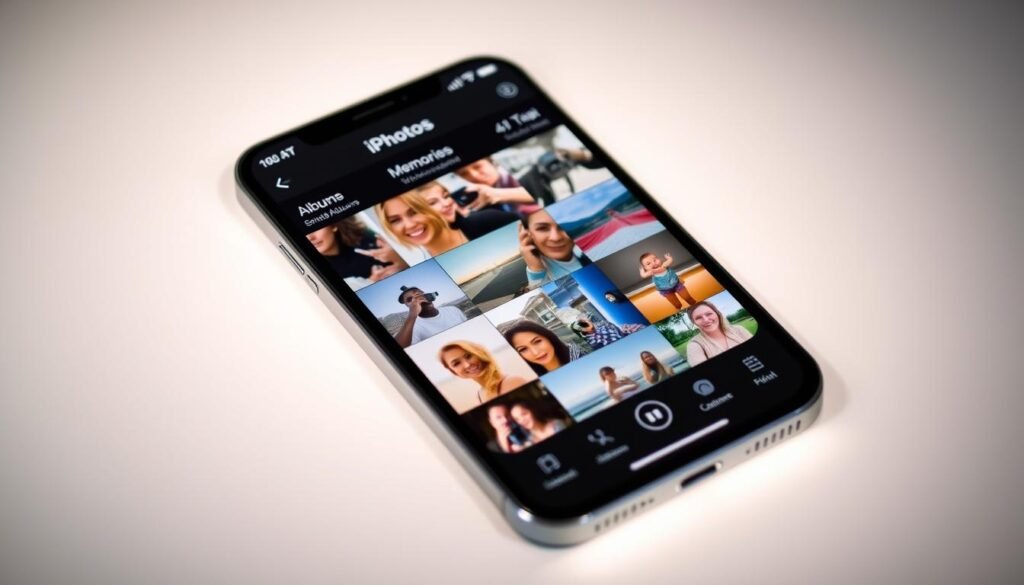
After a capture, I jump straight into editing so the key details stay clear and readable. Tap the small thumbnail in the corner and Markup opens immediately.
Markup basics: crop edges, draw arrows, and add text callouts on the image while details are fresh. If I miss the thumbnail, I open the Photos app and edit from Albums > Screenshots later.
Organize and find saved images fast
The system files screenshots automatically into a dedicated Screenshots album inside the photos app. That means saved photos are easy to find without scrolling through the main Camera Roll.
Share instantly
When editing is done, I tap the Share button. I can send a share screenshot to Messages, Mail, or post on social platforms in seconds.
- Quick edit: tap thumbnail → Markup → crop and annotate.
- Easy find: Photos > Albums > Screenshots for saved photos.
- Same flow: whether your device uses a home button or newer buttons, editing and sharing feel the same.
“Crop to emphasize the point and use arrows or highlights so viewers see the important bit immediately.”
| Action | Where | Why it helps |
|---|---|---|
| Tap thumbnail | Corner of screen | Open Markup for fast edits |
| Open Photos | Albums > Screenshots | Find saved images quickly |
| Use Share | Share sheet | Send or post without extra apps |
Capture more: scrolling screenshots and useful tips
You can turn a quick capture into a long, scrollable image without leaving the editor.
I use the thumbnail preview to make full-page captures when I need context. After taking screenshot, I tap that tiny preview and pick Full Page in supported apps like Safari. The editor lets me scroll the long image and confirm every part of the screen is included.
Full Page capture
Tap the preview, then select Full Page to grab an entire article, receipt, or long chat. The editor shows a scrollable preview so I can check for cut-off content.
Timing tips for crisp results
My best tip: press-and-release both buttons at the same time. A gentle, simultaneous press of the side and volume buttons avoids other features and gives a clean capture every time.
- I use the Full Page option when I need one continuous image instead of many files.
- This method works across many iphone models; the editor behaves the same on each model.
- Tap the corner screen thumbnail fast to open Full Page before it vanishes.
| Action | Where | Benefit |
|---|---|---|
| Select Full Page | Markup editor | Capture entire web pages or receipts |
| Scroll preview | Editor pane | Verify nothing was cut off |
| Press-and-release | Side + volume button | Consistent, crisp screen capture |
“A quick tap on the preview turns a single step into a full-page record.”
Conclusion
Keep this simple: prepare the screen, press the correct pair of buttons for your model, then check the small preview in the corner.
I press the side button at the right side with volume up on modern models. For older models I use the Home plus side or top button. A flash, shutter sound, and the thumbnail confirm success.
Edit or share fast: tap the thumbnail for markup, or swipe it away and find the image later in Photos > Albums > Screenshots where all captures are automatically saved.
I recommend trying AssistiveTouch, Back Tap, or Siri if hardware controls feel awkward. For a step-by-step refresher, see the complete guide.
