
Surprising fact: Apple offers three built-in paths that cover almost every scenario for moving everything—photos, messages, apps, and settings—between phones.
I want my new phone to feel exactly like my old one as fast as possible. In my experience, I choose between Quick Start (device-to-device), an iCloud backup restore, or restoring from a computer backup in Finder or iTunes.
Quick Start links the two devices by scanning an on-screen animation and confirming a passcode. iCloud requires a fresh backup on the old phone and a Restore from iCloud Backup step on the new device. A computer restore via Finder or iTunes gives me full control and the option to encrypt backups for Health and Keychain info.
I keep both phones plugged in, near each other, and on Wi‑Fi so the process does not pause. If I need a full checklist or want other options, I follow a concise guide like the one at five simple solutions for moving content.
Key Takeaways
- Apple gives three main methods: Quick Start, iCloud restore, or computer restore.
- Quick Start is fastest for nearby phones and uses an animation scan.
- iCloud can use temporary storage if my plan is full.
- Use Finder or iTunes for large backups and to include Health and Keychain via encryption.
- Keep both devices charged and close until the migration finishes.
Before I Start: Prep My Old iPhone and New iPhone for a Smooth Transfer
I start by updating and backing up my old device, then readying the new one for setup. This short prep saves time and prevents lost files.
Update both iPhones to the latest iOS so Quick Start, iCloud restores, and Finder or iTunes interactions work without hiccups. I check Settings and install any waiting updates before I begin.
Back up the old iphone first. I use Settings > [my name] > iCloud > iCloud Backup > Back Up Now for a cloud copy, or make a computer backup in Finder (macOS Catalina+) or iTunes (Windows/macOS Mojave). I encrypt the computer backup when I want Health and Keychain included.
Plug in, enable Wi‑Fi and Bluetooth, and keep devices close. Apple recommends power and a steady network during setup. If my iCloud space is tight, I accept Apple’s temporary iCloud storage for one full backup and restore.
- I clean up large files and offload unused apps so the new iphone has room and the process runs faster.
- I confirm my Apple ID, passcode, and two‑factor method are ready for prompts.
- I plan 30–90 minutes of uninterrupted time and move near my router if the network is weak.
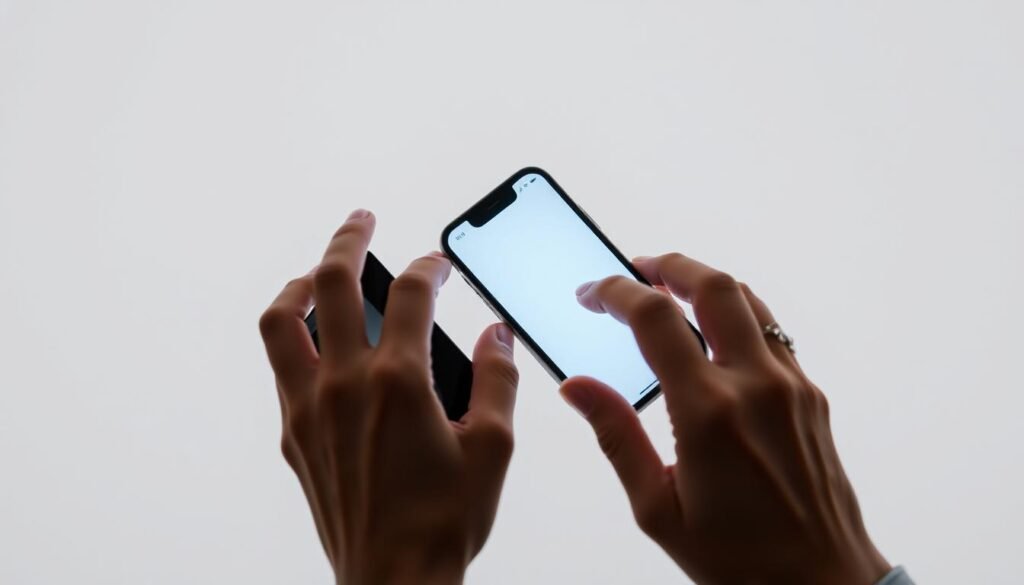
Use Quick Start to Transfer from iPhone to iPhone

I start Quick Start by placing both phones side by side and enabling Wi‑Fi and Bluetooth so the setup wakes instantly.
What I need
Wi‑Fi, Bluetooth, Apple ID, and both devices close together. I sign into my Apple ID on the old phone and make sure both are charged or plugged in. This readies the screen prompts and speeds the initial handshake.
Step-by-step
- Tap Continue on the old device when the setup prompt appears.
- Scan the swirling animation on the new phone and confirm your passcode or Apple account password if asked.
- Set up Face ID, then select Transfer from iPhone to begin the direct copy.
What to expect
The process is device-to-device and often faster than large cloud restores. I keep both phones plugged in and on Wi‑Fi until the progress finishes.
“Apps may re-download and some services will ask me to sign in again.”
- Watch progress bars and avoid moving away.
- Large libraries will lengthen the time; plan on minutes or longer.
- If Quick Start does not appear, I restart both devices and check Bluetooth.
Restore from iCloud Backup on My New iPhone

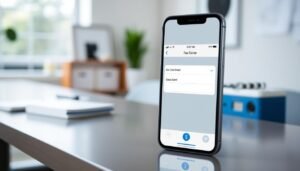
Before I set up my new phone, I make one last iCloud backup on the old device. I follow Settings > [my name] > iCloud > iCloud Backup and tap Back Up Now. This captures recent messages, photos, and app settings so nothing is missing.
When I start the new device, I connect to Wi‑Fi and continue through setup until the Apps & Data screen appears. There I choose Restore from iCloud Backup, sign in with my Apple ID, and pick the latest backup by date and size.
Quick checklist for a smooth restore
- Keep the new iphone on a charger and on a reliable network while the restore runs.
- Expect apps and large libraries to re-download over the network; some items keep restoring in the background after the Home Screen appears.
- Use Apple’s temporary iCloud storage if your plan is full and you just set up a new iphone.
- Be ready to re‑enter logins for secure apps — that’s normal after a full restore.
The restore icloud process works even if the old device isn’t nearby, as long as the backup is fresh. I find this route convenient when I need to set new iphone without a direct device link.
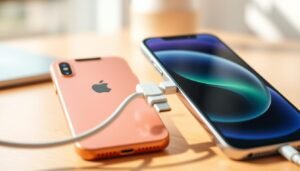
Transfer with a Computer Using iTunes or Finder
When my internet is slow or my library is huge, I use a computer for a complete local copy. This method gives me control and avoids iCloud limits.
On a Mac with Finder
I plug the old device into a Mac running macOS Catalina or later. In Finder I select the device in the sidebar and click Back Up Now. I check Encrypt local backup when I want Health and Keychain included.
After the backup finishes, I disconnect the old device, connect the new device, and choose Restore Backup in Finder. I keep the cable snug and the computer awake until the process completes.
On Windows or older macOS with iTunes
In iTunes I trust the computer, run a manual Back Up Now, then attach the new device and pick Restore Backup. The screens mirror Finder, so the steps feel familiar.
“Encrypting a backup moves Health and password data along with apps and settings.”
- I prefer a computer-based workflow for large libraries and full control.
- Keep both backup and restore runs uninterrupted—no sleep or cable wobbles.
- Expect to sign back into some apps after the restore finishes.
Troubleshooting and Special Cases When I Transfer Data iPhone to iPhone
A stuck migration doesn’t mean failure; I use a few practical steps to regain momentum. I keep instructions simple and act in order so I don’t waste time.
If the process gets stuck
I restart both phones, toggle Wi‑Fi and Bluetooth, and keep the devices inches apart. If Quick Start still stalls, I return to the setup screen and try again or pick a backup restore.
Handling large libraries
For huge photo or video collections, I keep chargers connected and use a wired Finder/iTunes restore. That wired path often finishes faster and is more reliable than a long network restore.
Older models and compatibility
If my old iphone can’t run the current iOS, I update it when possible. If updates aren’t available, I make a full computer backup on Finder or iTunes and restore that backup to the new iphone.
Security and privacy
- I watch for Apple ID prompts and approve two‑factor codes quickly.
- I sign out and erase the old device only after I confirm the new device has all my content.
“Keeping both phones plugged in and near each other makes a stuck process far less stressful.”
Conclusion
I pick the path that matches my needs—Quick Start for a fast device-to-device move, an iCloud restore for an over-the-air option, or a wired restore with iTunes or Finder for a full local copy. Each route keeps my essential data and apps intact and usually finishes with minimal fuss.
I always make a fresh backup on my old iphone first and confirm the restore backup I plan to use. I encrypt a computer backup when I want Health and passwords included. If Quick Start stalls, I retry or fall back to an icloud backup or a Finder/iTunes restore.
Keep both devices plugged in, Wi‑Fi and Bluetooth on, and stay nearby. With those simple habits, my new iphone mirrors my old one quickly and reliably, and apps re-download while logins are restored as needed.